


#Backyard Gardening #Container Ponds #Gardening and Agriculture #Natural Ponds #Water Features #Wetlands #Wildlife Habitat
Alidia Vane
Wetlands, such as bogs and lakes, are crucial reservoirs of biodiversity. According to the Wildfowl and Wetlands Trust, 40% of plants and animals depend on wetlands for water, food, shelter/habitat, or migratory rest stops. This makes wetlands one of the most biodiverse habitats in the world. However, despite their importance, wetlands have been undervalued. Invasive species, pollution, unsustainable development, climate change, and insufficient protections have all led wetlands to disappear at an alarming rate.
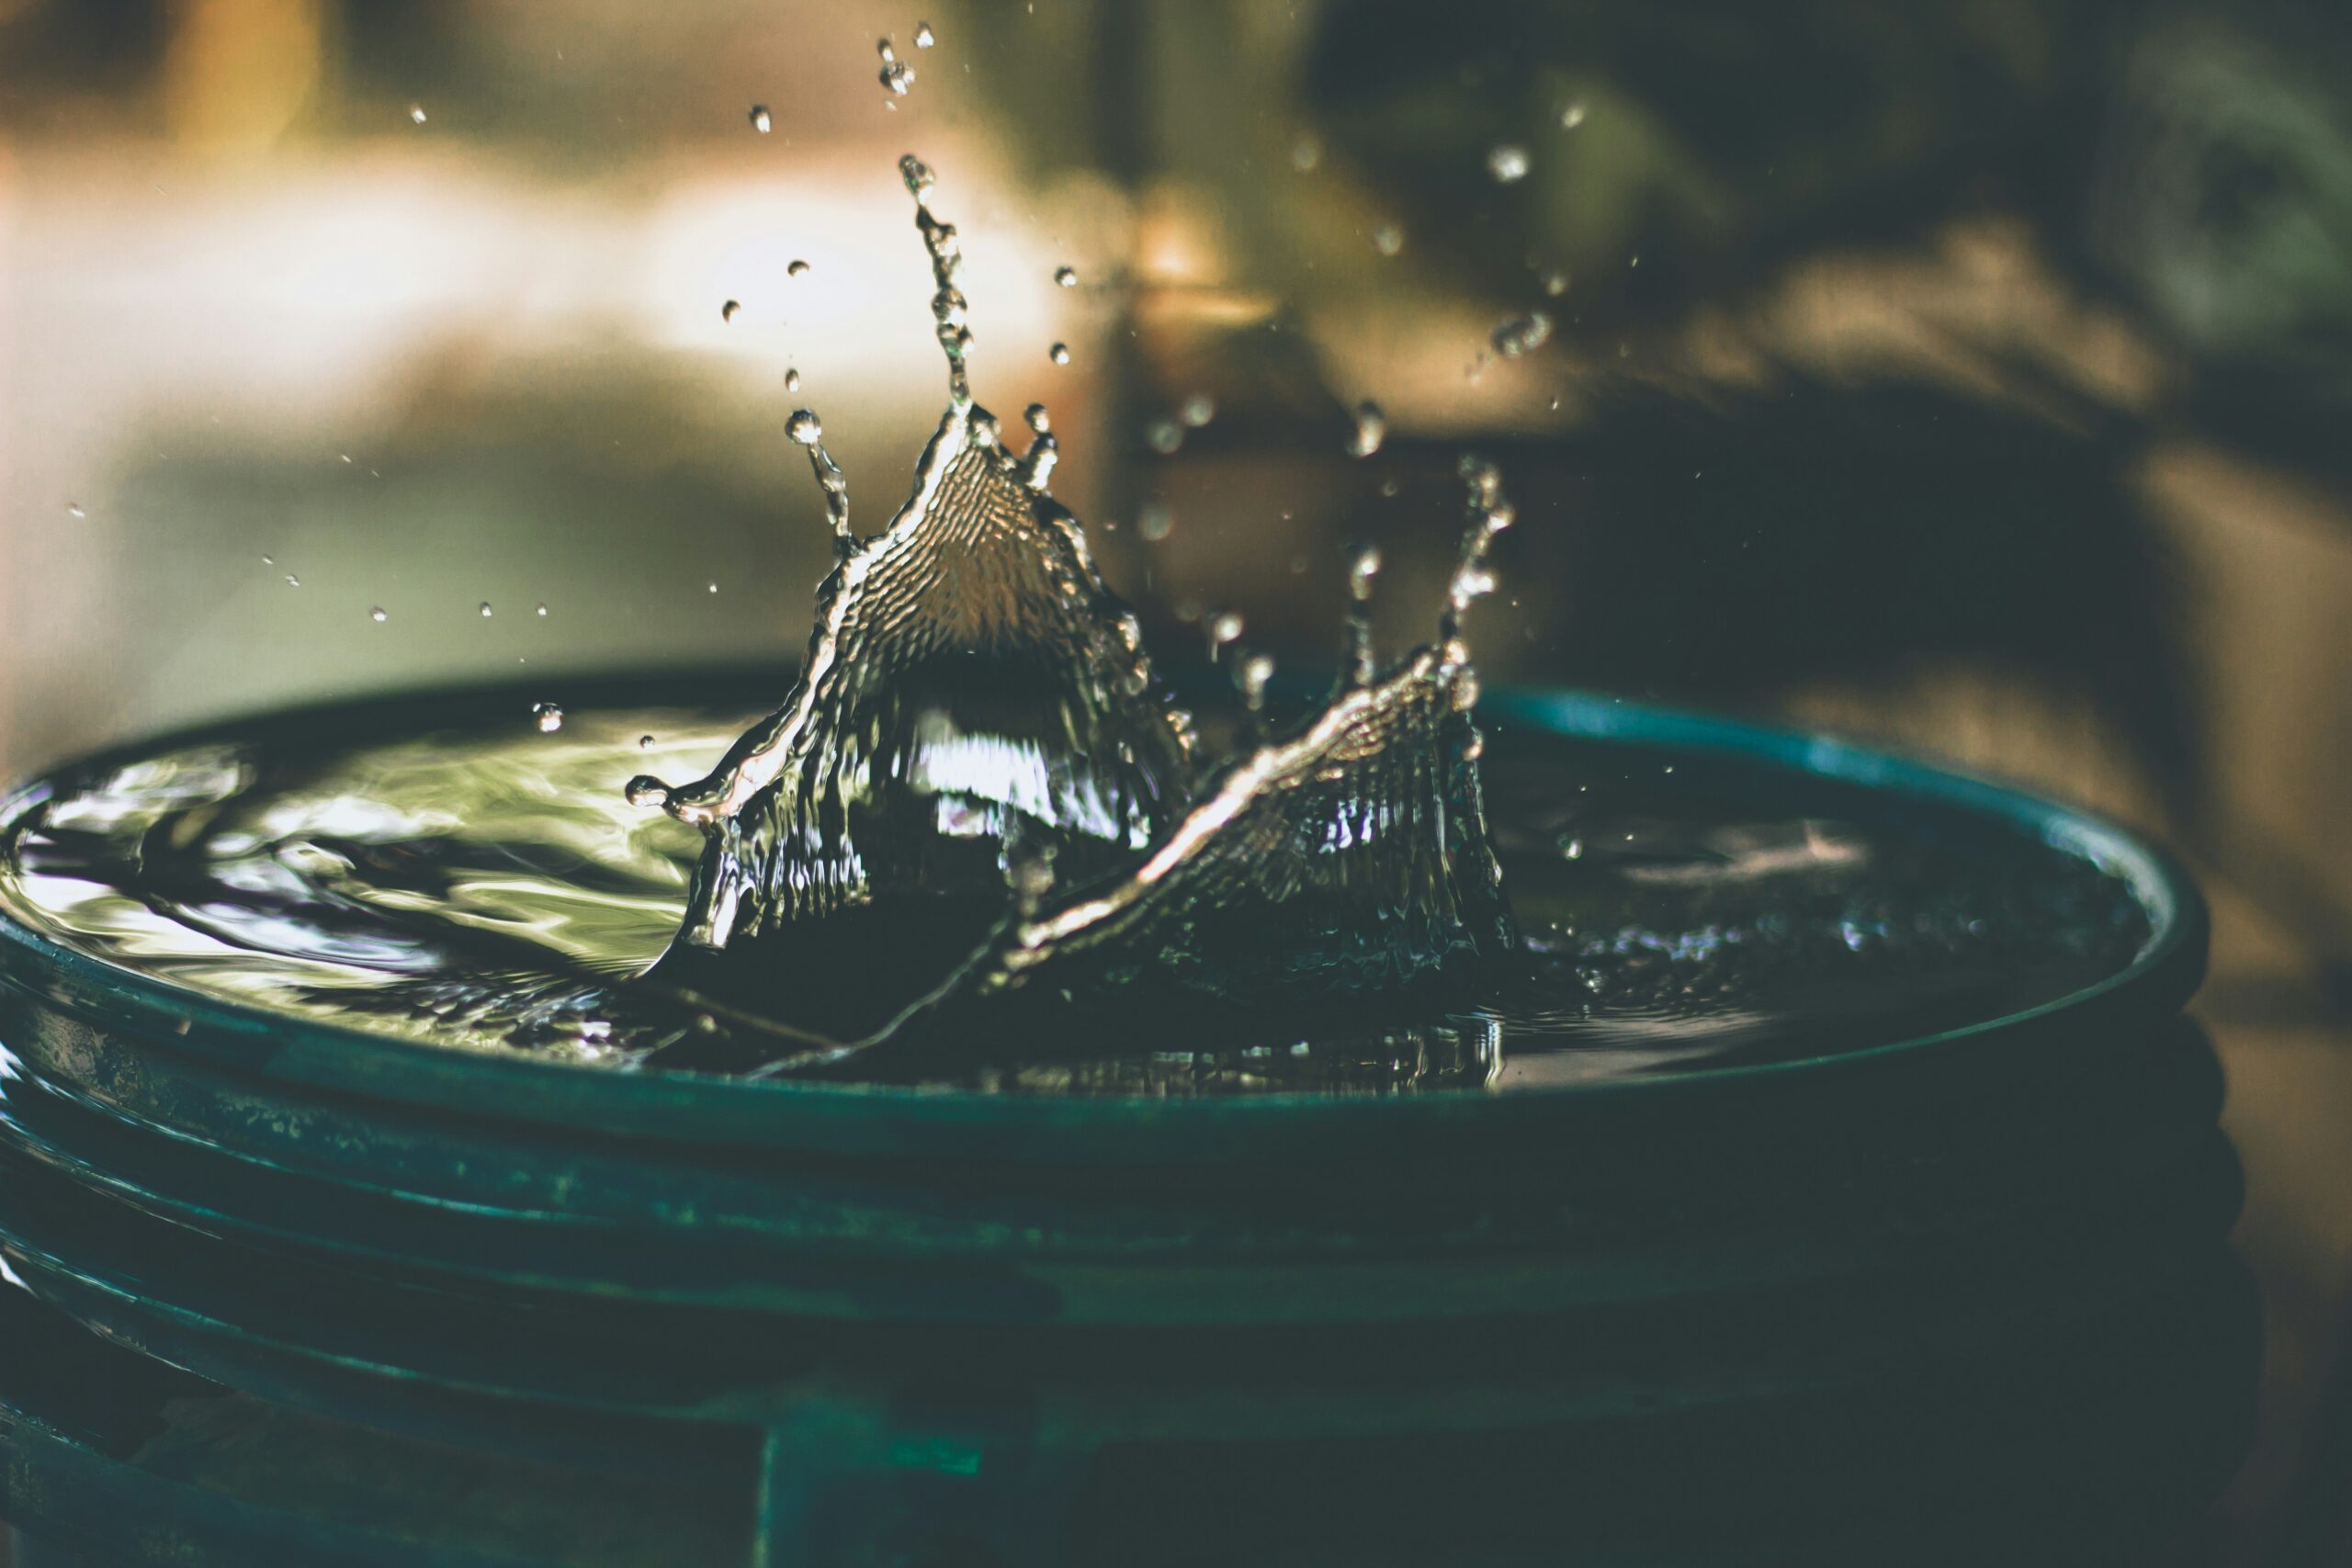
Fortunately, there is an easy and fun way that anyone can support wetlands: by building a “mini-wetland” in your garden or community! A mini-wetland is a small area that provides fresh water, shelter, and food to frogs, insects, birds, and other wildlife. A mini-wetland could be a small rain garden, in-ground pond, or above-ground container pond. In this article, we’ll focus on container ponds, since they can be installed anywhere, even on a patio or other hard surface.
A container pond consists of a water-tight container, such as a barrel or old sink, which is upcycled into a wildlife haven. Once you select a container, here are the steps to set up your pond:
This quick project can take less than an hour to assemble, but with proper maintenance, your pond will provide safe habitat to local wildlife for years to come! For a video tutorial, check out the “Action” link below. To explore similar mini-wetland projects or to learn more about the Wildfowl and Wetlands Trust, visit their website at the “Definition” link below.
True or False: According to the Wildfowl and Wetlands Trust, wetlands support more life per area than most other habitats.